![](https://cdn.myportfolio.com/2e95711ef304281131e156eec2cd4deb/b34146f5-c23d-4a1e-b896-2b20ae694818_rw_1200.png?h=fc344621d752dda9103f1402da6cb775)
![](https://cdn.myportfolio.com/2e95711ef304281131e156eec2cd4deb/5470115e-b0fd-4e94-8bb6-47198f079673_rw_1920.png?h=786d3164e7ecfdd66b35d0be6ef7bdec)
![](https://cdn.myportfolio.com/2e95711ef304281131e156eec2cd4deb/108e4e45-7a8c-44be-b056-4efec2d792ac_rw_1200.png?h=7a29c519b0ce3fbe103b96c0e558e76c)
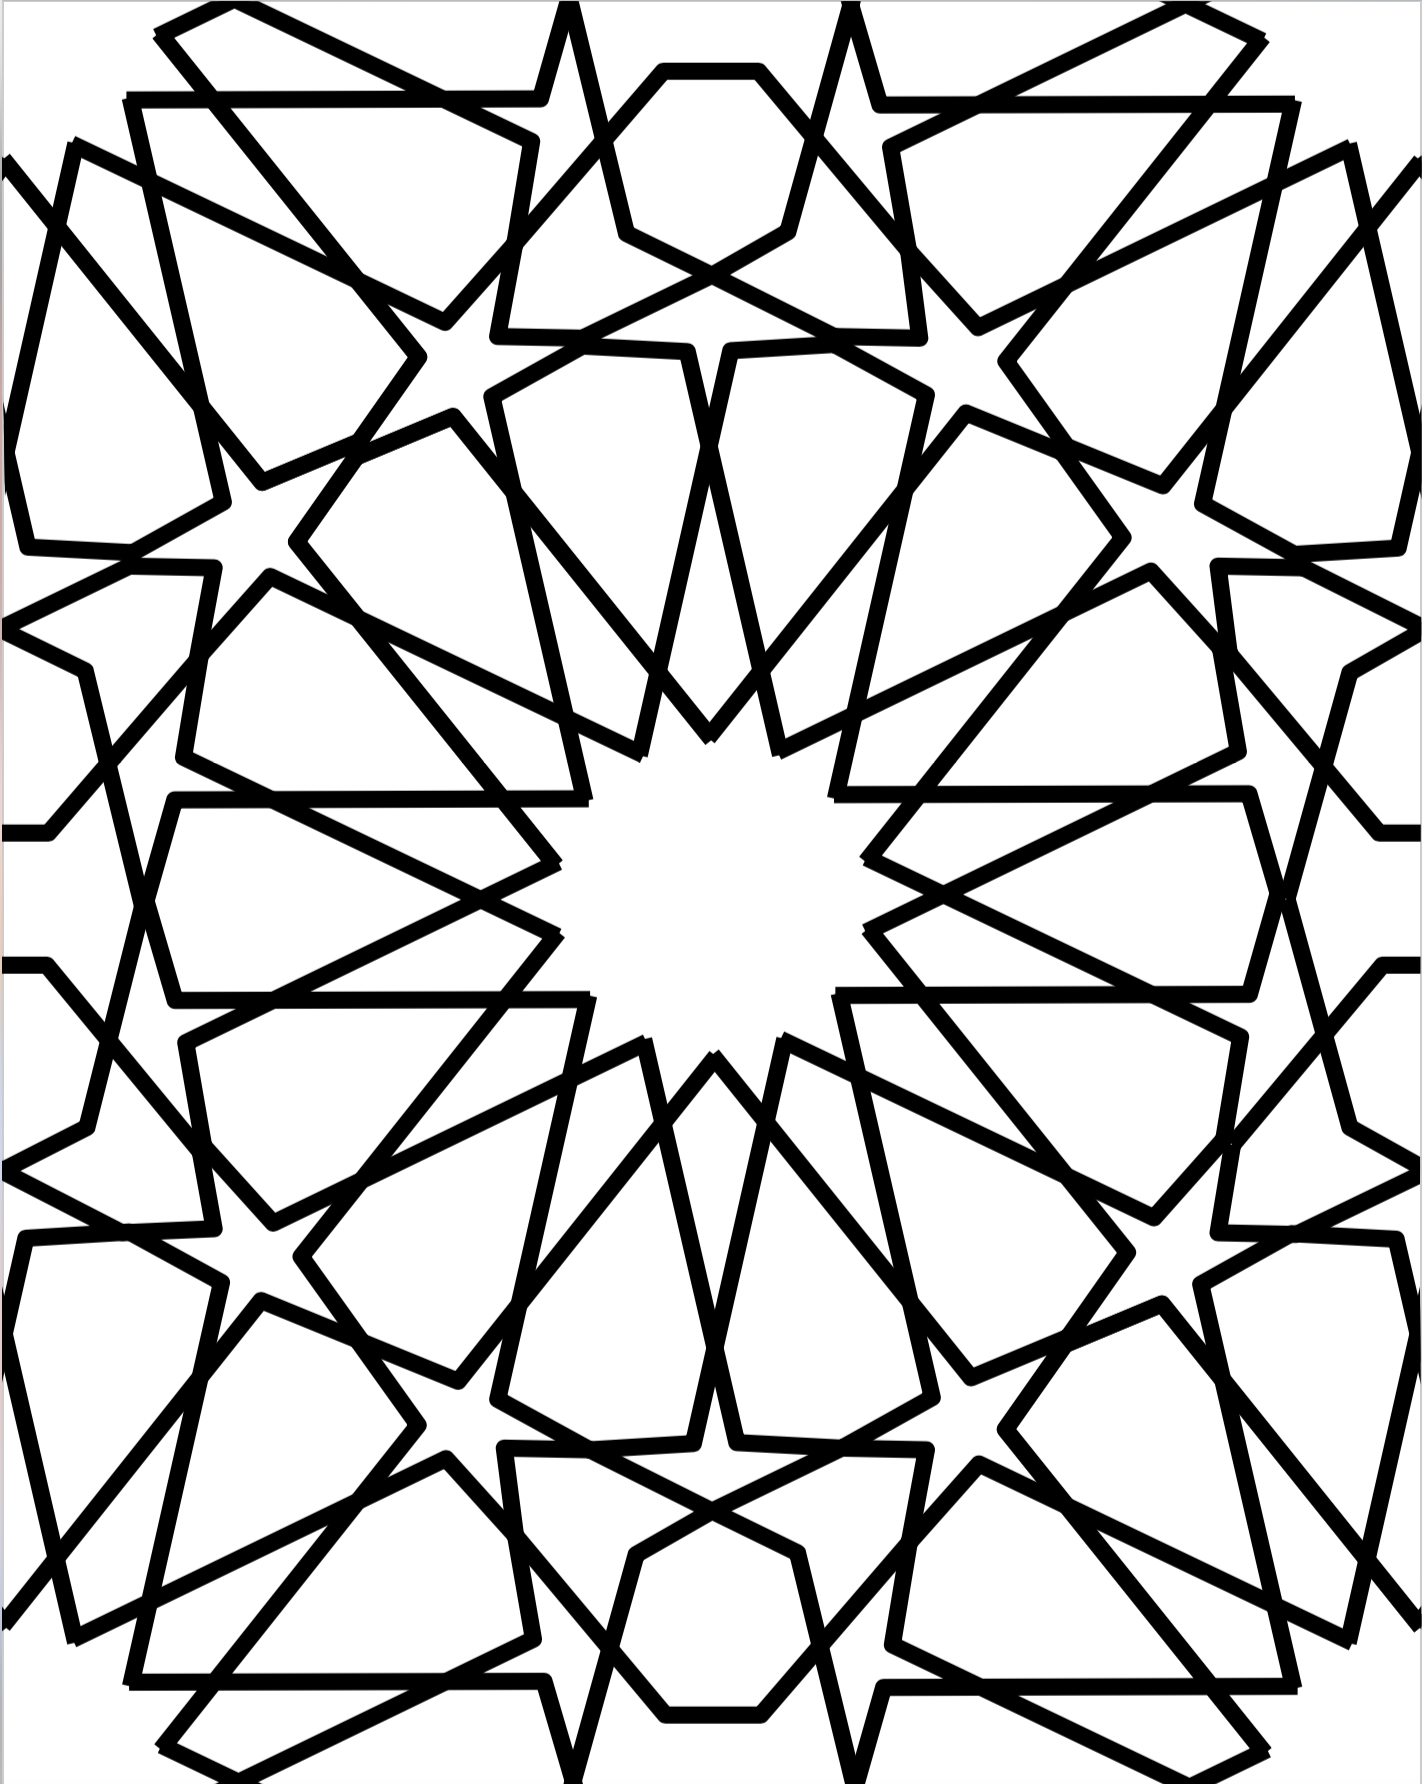
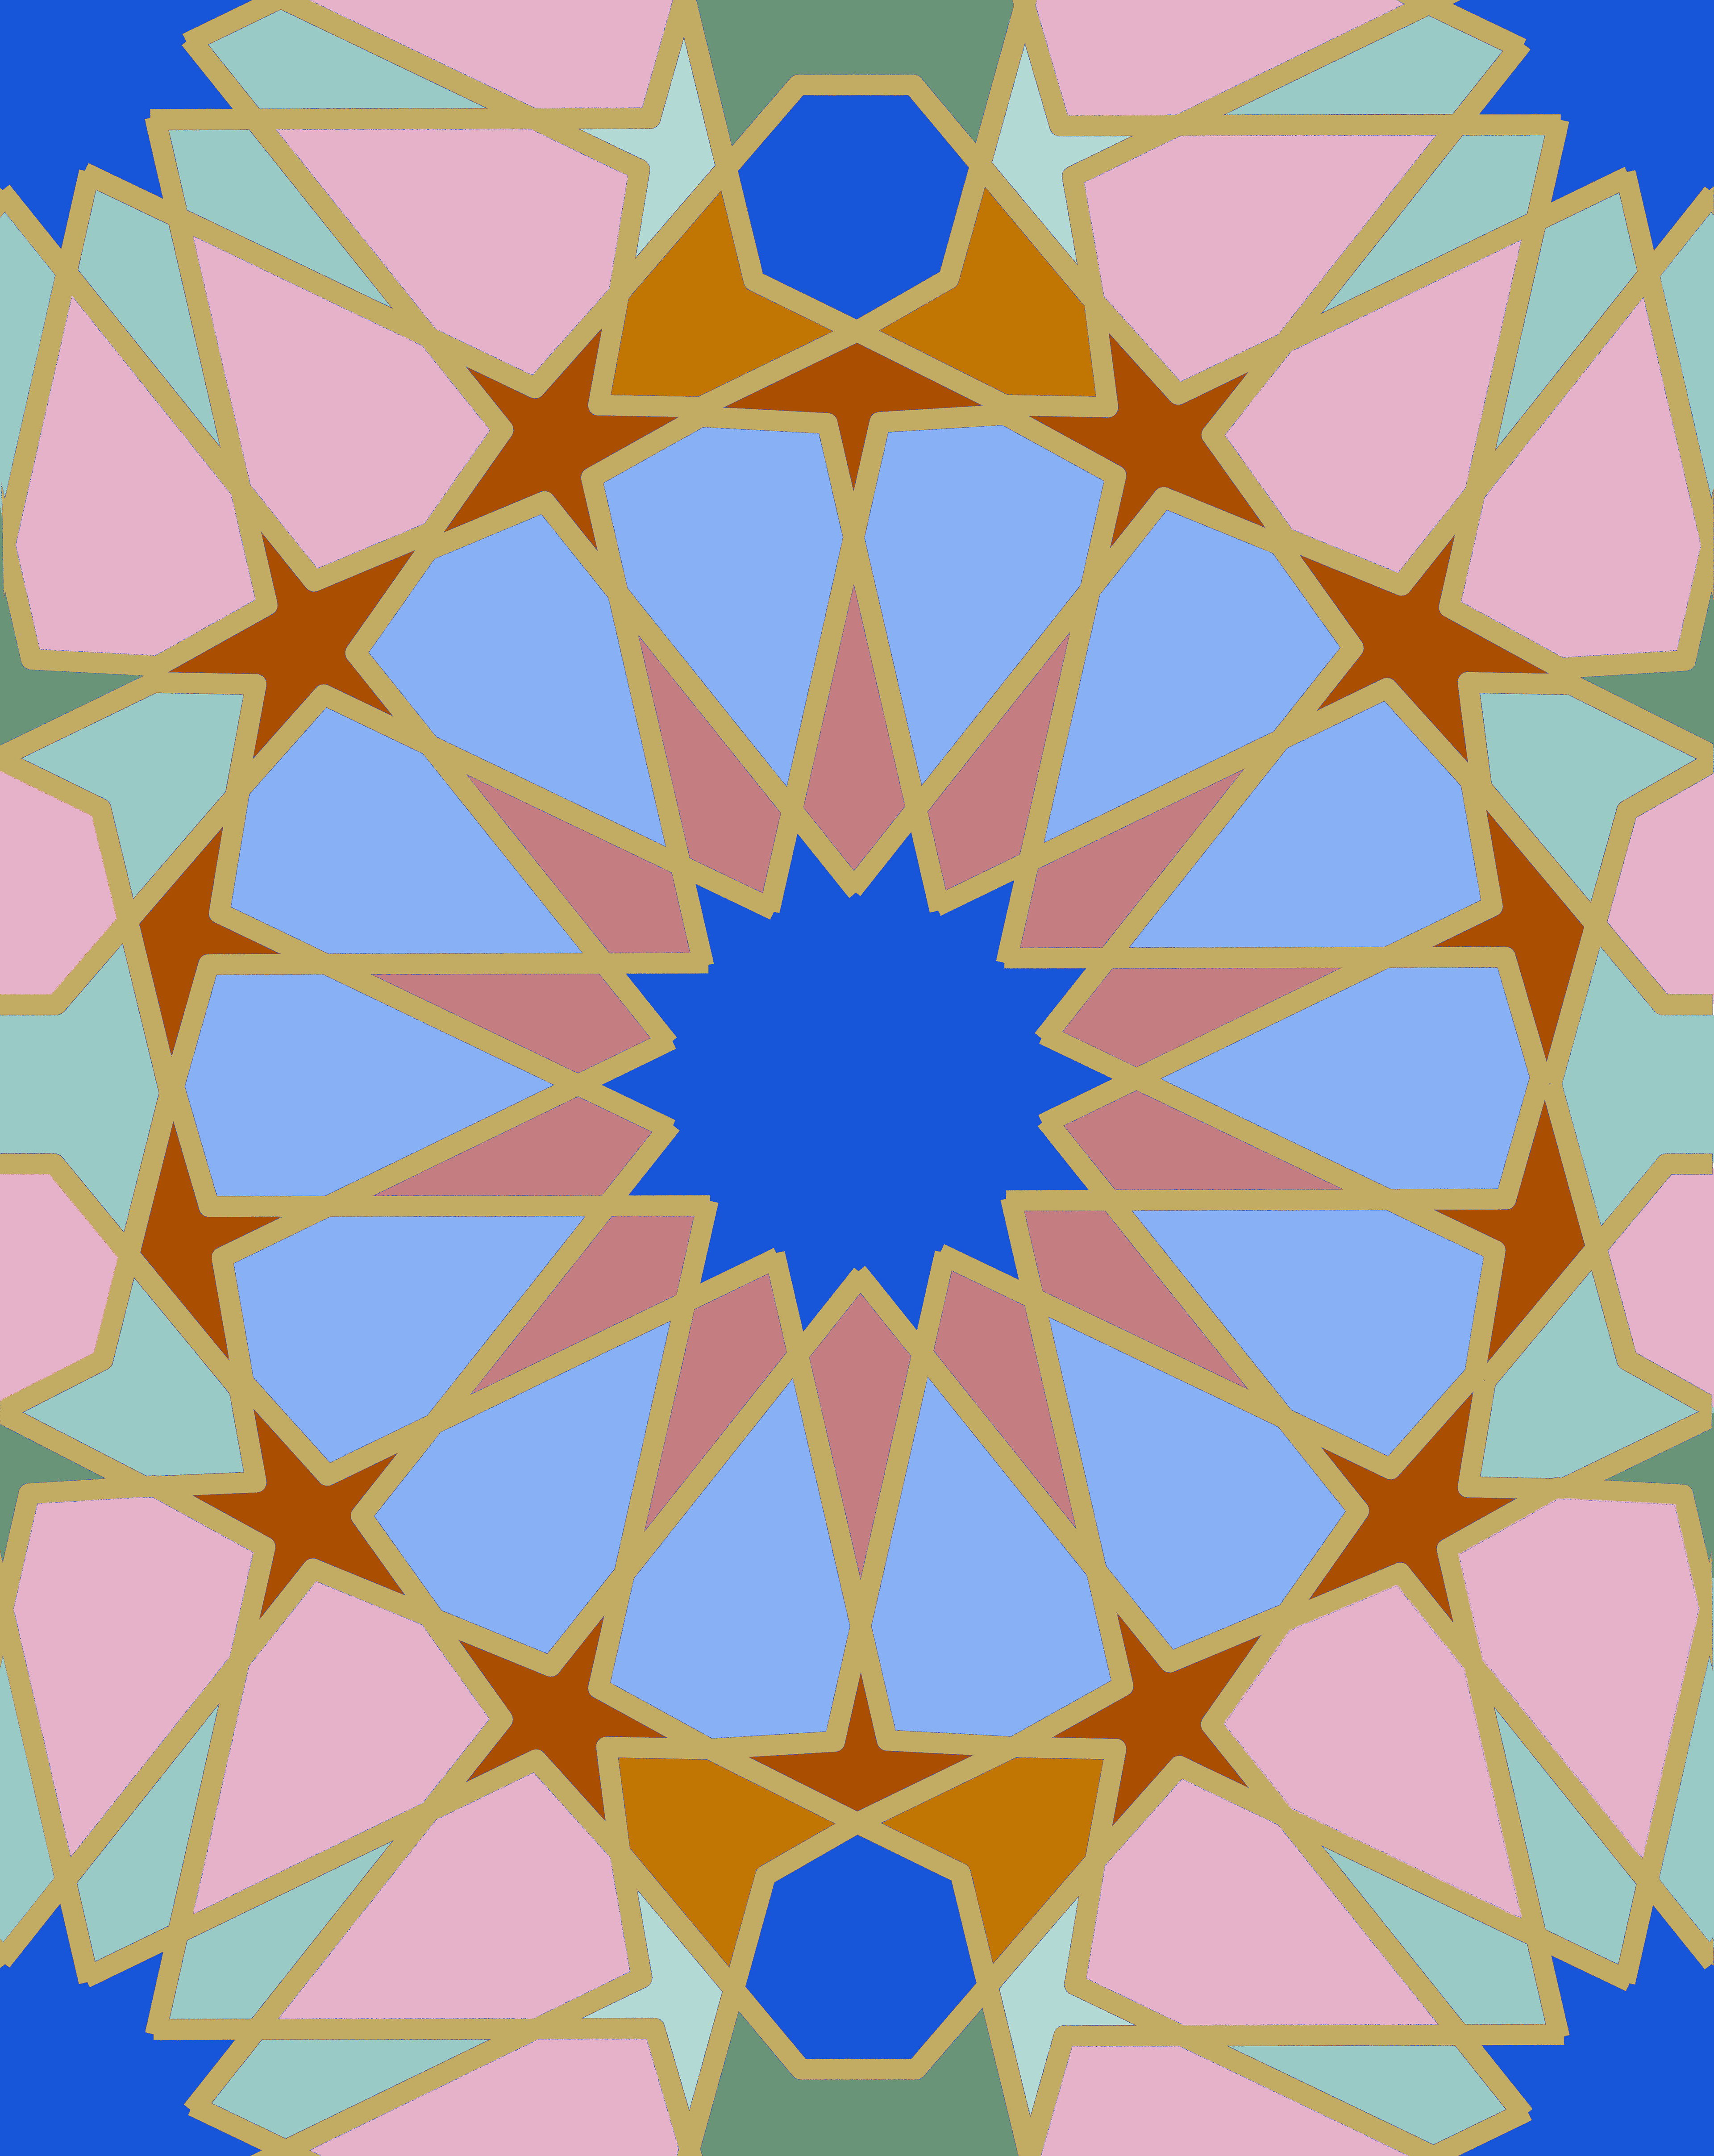
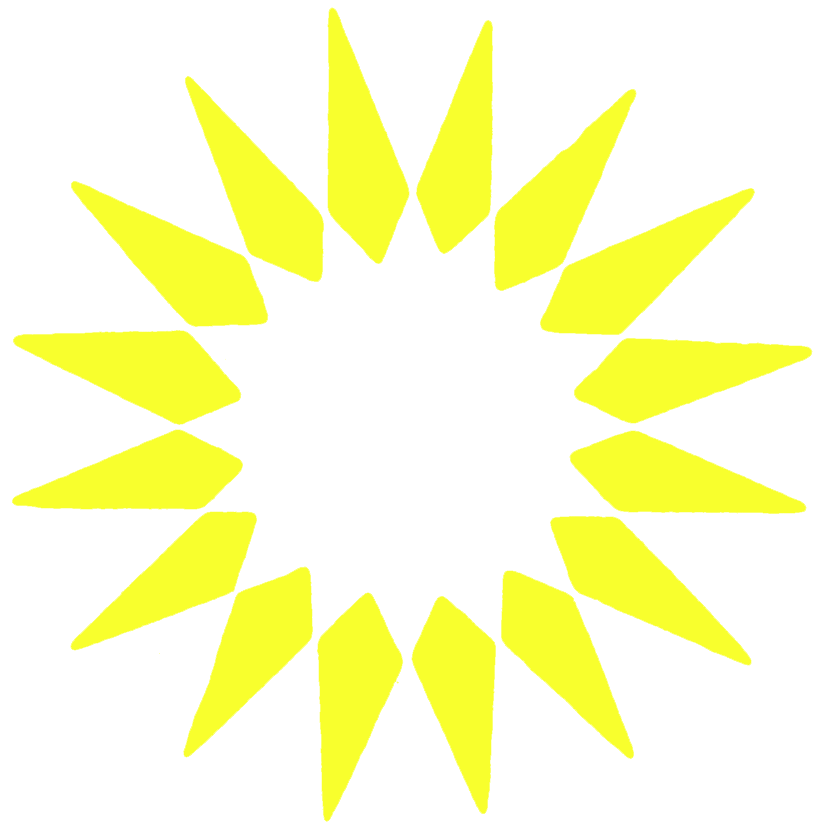
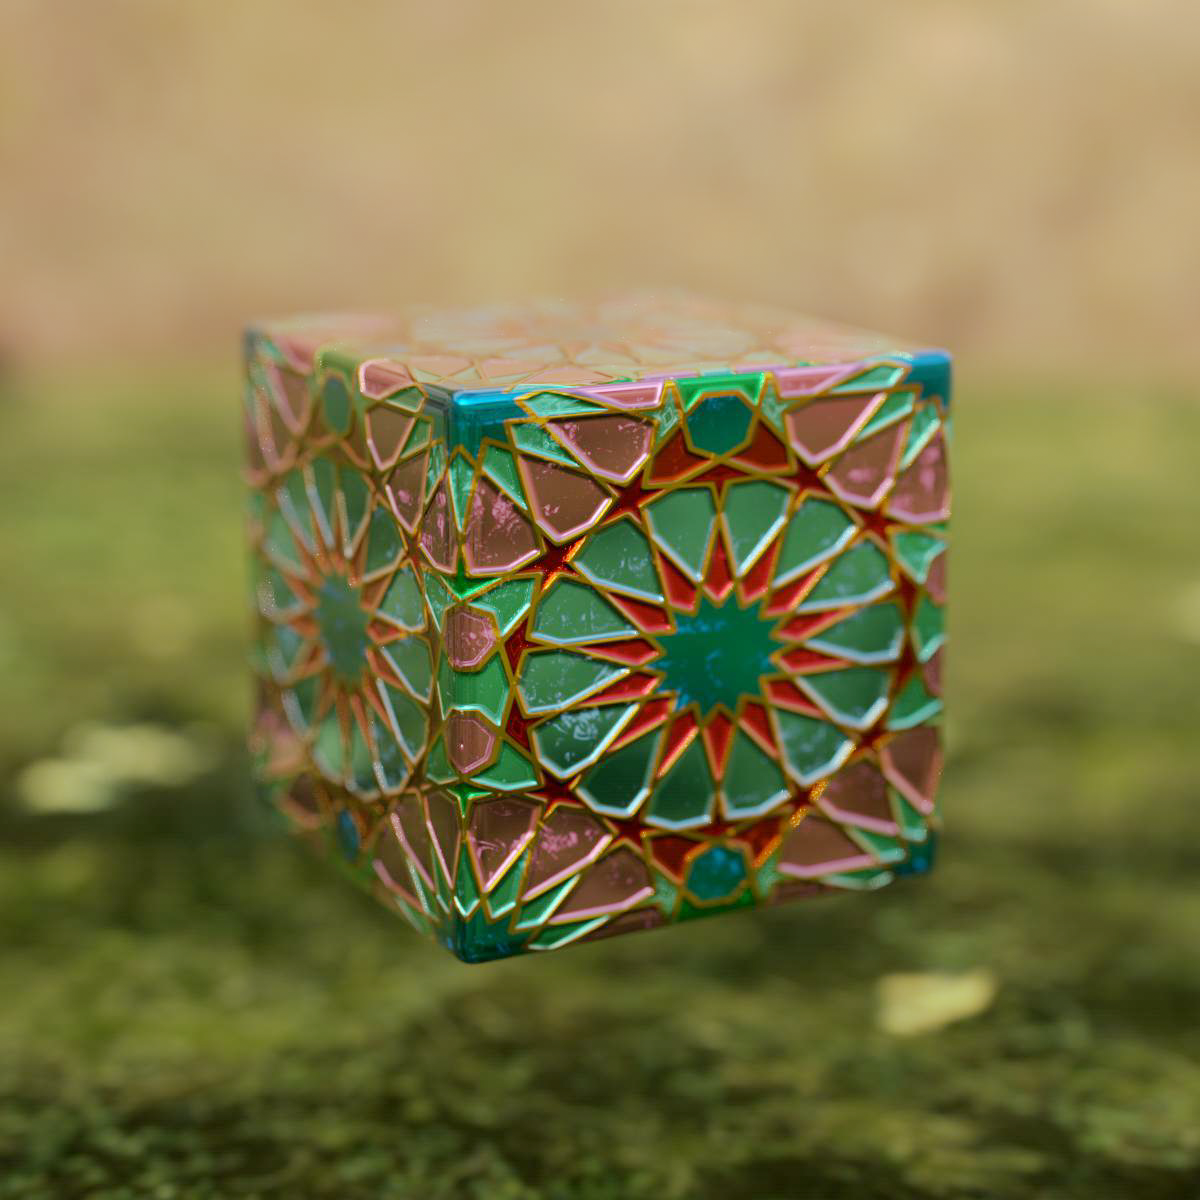
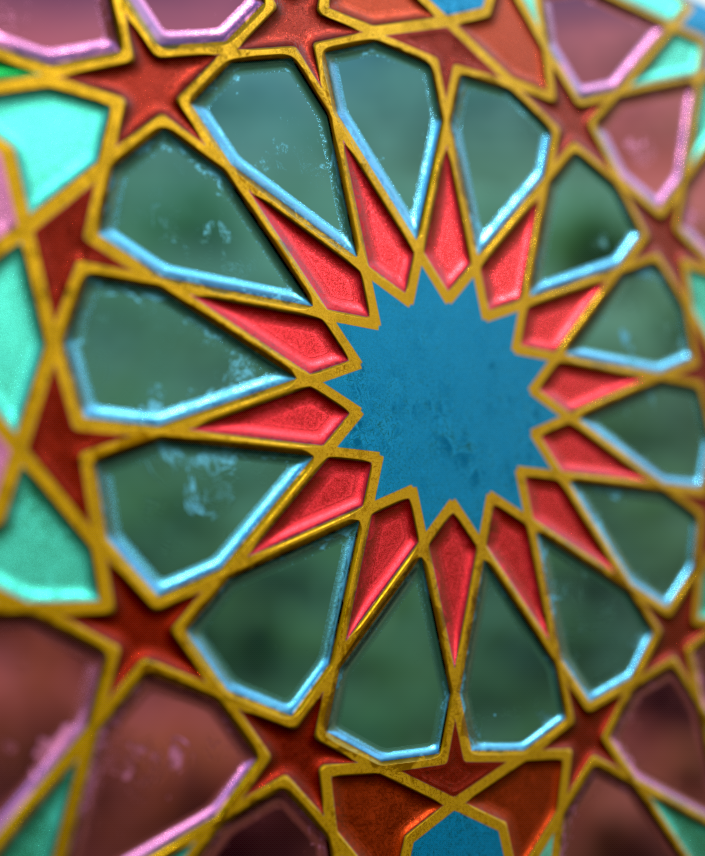
In the first step, I created the Geometrical Pattern in Illustrator. With that I moved on to Photoshop and created a "diffuse" map and a "height" map. The more fun part was to bring together those two the maps (layers) in Substance Designer and create a more rough and organic texture pack (including Normal Map, Rough Map, Specular Map).Â
![](https://cdn.myportfolio.com/2e95711ef304281131e156eec2cd4deb/0ff9523d-5240-4366-97f1-106b3393cf0d_rw_1920.png?h=f63e663440e0ba2eeb0de2a199f03d07)
![](https://cdn.myportfolio.com/2e95711ef304281131e156eec2cd4deb/6a394eb9-f6fa-4fdf-8619-299742e7edae_rw_3840.png?h=039bb791e7727736d8254dd253f03747)